[Sauna Hacks is reader-supported. When you buy through links on our site, we may earn an affiliate commission. Learn more.]
Waterproofing a sauna floor is an important step in building a sauna because there’s a risk of water not evaporating and seeping through the floor and damaging the wood.
To waterproof a sauna floor, you need to clean and prepare the surface, then apply a suitable waterproofing material like epoxy or polyurethane coating. Next, follow the manufacturer’s instructions for application and drying or curing time. Once ready, remember to regularly inspect and maintain the waterproofed floor to ensure its effectiveness and longevity.
👇 You Need This 👇
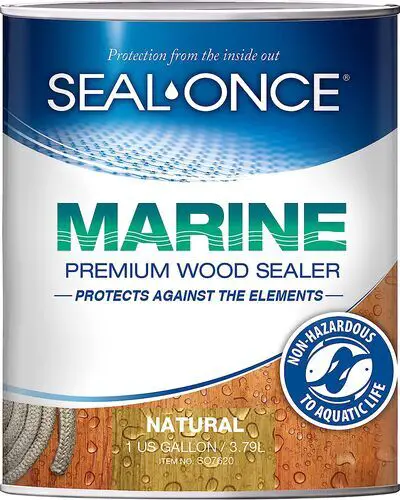
– UV-stable coating for protection against saltwater spray, and water damage
– Fast-drying protector penetrates wood below the surface, coating the wood fibers at the cellular level
– Ultra-low VOC, great for enhancing the extended life of your flooring
In the rest of the article, we are taking a deeper dive into the sauna floor waterproofing process.
Table of Contents
- Sauna Floor Materials: Which is the Best?
- How to Waterproof Sauna Floor
- Maintenance Tips For Waterproof Sauna Floor
- Conclusion
Sauna Floor Materials: Which is the Best?
In this section, we will discuss sauna floor materials and how to waterproof them effectively. We will cover three common materials used on sauna floors: cedar wood, concrete, and tile.
1. Cedar Wood
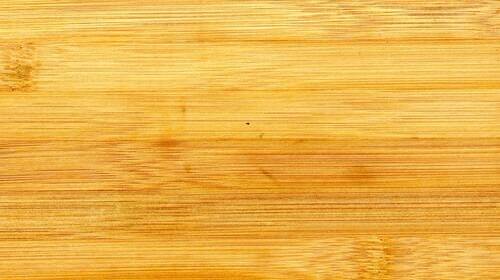
Cedar wood is commonly used for sauna floors because of its natural moisture and decay resistance capabilities.
To waterproof a cedar wood sauna floor, you can apply a water-resistant sealant in multiple coats, allowing each coat to fully dry before applying the next one. Adding rubber mats is also a great idea as it protects the floor from moisture and damage.
2. Concrete
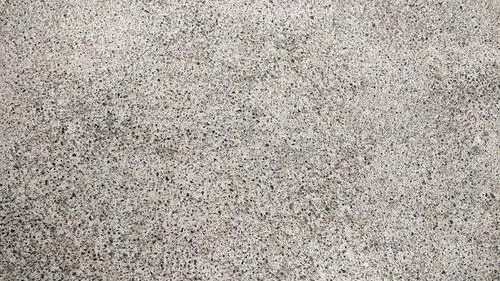
Concrete floors are a popular choice for sauna flooring because it’s durable and easy to maintain.
To effectively waterproof your concrete floor, start by applying a high-quality concrete sealer. This sealer will prevent water from seeping into the concrete. You need to apply multiple coats of sealer and ensure that each coat is fully dry before applying the next one.
We also recommend using specialized waterproofing coatings such as epoxy or polyaspartic for an extra layer of protection. These coatings will give your sauna floor a smooth and non-slip texture.
3. Tiles
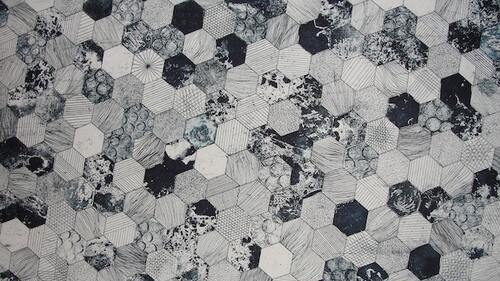
Tiles (mainly porcelain or ceramic tiles) are a popular choice for sauna floors due to their ability to withstand high temperatures.
To waterproof a sauna floor made of tiles, you will need to apply a waterproofing membrane beneath the tiles. This membrane will act as a barrier, preventing water from seeping through the tile and grout. And you will also need to ensure that you are using high-quality, water-resistant grout to enhance the floor’s water-resistant capabilities.
How to Waterproof Sauna Floor
Waterproofing your sauna floor involves 3 steps. Those are:
i. Preparing the surface
ii. Layering floor with wood, tiles, or concrete
iii. Applying waterproof sealant
Let’s take a detailed look at each of these steps.
i. Preparing Floor Surface
Before you begin waterproofing your sauna floor, it’s essential to prepare the surface properly. Start by cleaning the entire area, removing any dirt, dust, or debris.
Ensure that the floor is completely dry before moving on to the next step. If you have a concrete floor, inspect it for any cracks or damage and repair them as necessary.
For wooden floors, make sure there are no loose or warped boards that could cause issues during the waterproofing process.
ii. Layering Floor With Wood, Tiles, or Concrete
Next, you’ll need to select a suitable waterproofing layer for your sauna floor. Popular options include wood, tiles, and concrete.
You need to choose a material that is slip-resistant, non-absorbent, non-porous, and easy to maintain.
Once the layer is selected, install it according to the manufacturer’s instructions. Make sure that all seams are tightly sealed to prevent moisture from seeping in underneath.
iii. Applying Waterproof Sealant
Finally, apply a waterproof sealant to the entire sauna floor. This step is crucial in ensuring that your sauna floor remains watertight.
To apply the sealant, follow the manufacturer’s instructions closely. And make sure the area is well-ventilated, and wear appropriate safety gear, such as gloves and goggles.
Allow the sealant to dry completely before using the sauna, as drying times may vary depending on the product and humidity levels.
By following these steps, you’ll create a waterproof sauna floor that can withstand high temperatures and humidity levels, ensuring the longevity of your home sauna.
Maintenance Tips For Waterproof Sauna Floor
After building a waterproof sauna floor, you need to ensure that the floor is well-maintained. In this section, we are offering a few tips to help maintain your waterproof sauna floor:
a. Clean Regularly
To maintain a clean and hygienic sauna floor, regularly sweep or vacuum any dirt and debris. By consistently cleaning your sauna, you can prevent the accumulation of dirt and grime which may negatively impact the waterproofing.
b. Repair Damages Prompty
Inspect your sauna floor for signs of damage or wear, such as scratches, cracks, or peeling layers of sealant. If you notice any issues, promptly repair them to prevent moisture from seeping into the floor and damaging it. Addressing problems early on can prove to be cost-effective and ensure the longevity of a waterproof sauna floor.
c. Reapply Coating Periodically
Depending on the waterproofing method used, periodic reapplication might be necessary. Check the manufacturer’s guidelines to determine how often you should reapply sealant or coating. Regular reapplication ensures your sauna floor remains protected against moisture and prolongs its lifespan, helping you get the most out of your sauna experience.
Conclusion
When it comes to waterproofing your sauna floor, there are a few key steps to ensure long-lasting results. To begin, select the appropriate flooring material for your sauna, such as wood, concrete, and tiles.
Next, prepare the floor by cleaning it thoroughly and then layering it with the material of your choice. This should be followed by layers of suitable waterproofing material like epoxy or polyurethane coating.
You can also consider creating a level and stable subfloor, which is especially crucial for outdoor saunas before layering the floor with wood, concrete, or tiles.
After the sauna floor is ready, ensure proper ventilation and humidity levels within the sauna at all times. This will help prevent mold growth and prolong the lifespan of your waterproofed sauna floor.
If you have any questions about how to waterproof your sauna floor, let us know in the comment section below.
(Featured image by Esteban Garcia from Pexels)
